
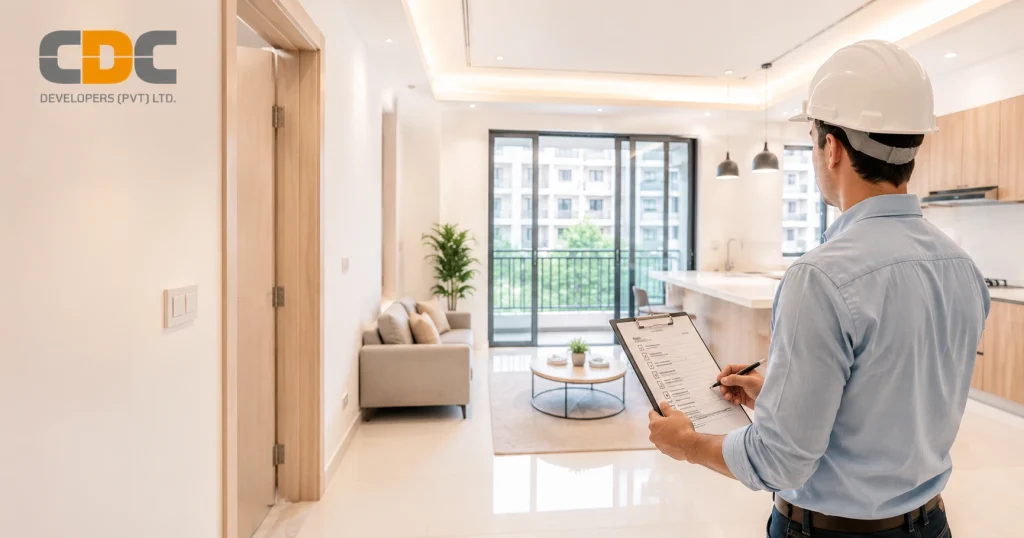
Moving into a new apartment is exciting, but before you accept the keys, there is one step you should never skip: the walkthrough. A proper apartment walkthrough checklist helps you catch problems early, protect your security deposit, and avoid disputes with your landlord or developer later on.
Whether you are a tenant picking up keys to a rental or a buyer taking possession of a newly built unit, knowing the things to do before moving into a new apartment can save you time, money, and frustration. This guide walks you through a complete apartment move in inspection checklist, room by room, so nothing gets missed.
What Is an Apartment Walkthrough and Why Is It Essential?
An apartment walkthrough is a final inspection you carry out with the landlord, property manager, or developer before officially accepting the unit. It is your chance to confirm that everything promised in the lease or sale agreement is actually in place and working.
Knowing what to look for when viewing an apartment matters for two reasons. First, it protects you financially. If damages or defects are documented before you move in, you cannot be blamed or charged for them when you eventually move out. Second, it protects you practically. Faulty wiring, poor water pressure, or broken locks are far easier to fix before you sign off on possession than after you have already settled in.
Skipping this step, or rushing through it, is one of the most common regrets new tenants and owners mention once small issues start piling up.
What to Bring With You for an Apartment Inspection
Before your scheduled walkthrough, put together a small inspection kit. Knowing what to bring with you on an apartment tour makes the process faster and far more thorough.
- Phone with a charged camera, to take timestamped photos and videos of every room and any existing damage
- Notebook and pen, to jot down issues as you spot them rather than relying on memory
- Phone charger, to physically test that every wall socket is functioning
- Tape measure, useful for confirming room dimensions and checking that your furniture will fit
- Sticky notes, to mark scratches, dents, or damaged spots directly so they are easy to point out to the landlord or developer
Room by Room Apartment Walkthrough Checklist
This is the core of your inspection. Go through each area methodically instead of jumping around, and use your notebook to record anything that needs attention.
Structural and Living Area Checks (Walls, Doors and Windows)
- Check paint condition across all walls and ceilings for peeling, stains, or uneven patches
- Look closely for cracks in walls, ceilings, or flooring that could indicate structural issues
- Test every door and lock, including bedroom, bathroom, and balcony doors, to make sure they open, close, and latch properly
- Inspect window seals and frames for gaps, drafts, or signs of water seepage
- Walk across every room to check floor tiles or flooring for cracks, loose tiles, or uneven surfaces
Electrical Systems and Fixtures
- Test all switchboards to confirm switches are not loose or unresponsive
- Plug your charger into every power outlet and socket in the apartment to confirm they work
- Turn on every light fixture, including hallway and bathroom lights, to check for flickering or dead bulbs
- Locate the circuit breaker panel and confirm it is properly labeled and functioning
Plumbing and Water Supply (Kitchen and Bathrooms)
- Run taps in the kitchen and bathrooms to check water pressure
- Test the hot and cold tap mix in showers and sinks to confirm the heater or supply line is connected correctly
- Check drainage flow in sinks, showers, and tubs to ensure water empties quickly without backing up
- Look under sinks for leaks, moisture, or signs of previous water damage
- Flush toilets and inspect flush tanks for proper refill and no continuous running water
Appliances and Utilities Inspection
- Switch on exhaust fans in the kitchen and bathrooms to confirm they are pulling air properly
- Test the geyser or water heater for consistent hot water output
- If the apartment is furnished, check the stove or oven for proper ignition and even heating
- Confirm AC points or pre piping are installed correctly if air conditioning units are not yet fitted
Connectivity and Network Signals
- Check the Wi Fi and cable wiring setup to confirm ports are active and correctly positioned
- Walk through each room with your phone to test mobile network reception, since thick walls or certain building materials can create dead zones
Security, Safety and Pest Inspection
- Test the main door lock, including any deadbolts or smart locks, for smooth operation
- Locate smoke detectors and confirm they are installed and functioning
- Identify emergency exits and staircases, especially important in larger apartment buildings
Building Amenities and Shared Spaces
- Test elevators for smooth operation if the building has them
- Confirm your assigned parking slot matches what was promised in your agreement
- Walk through corridors and shared hallways to check general maintenance and lighting
- Locate trash disposal areas and confirm collection schedules with building management
Documents and Possession Formalities Before Accepting Keys
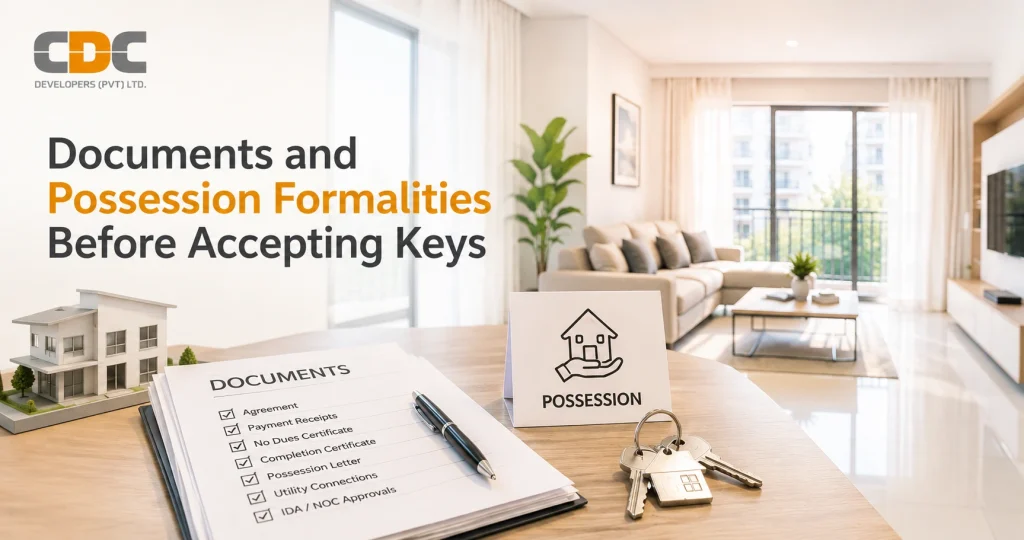
Once the physical inspection is complete, there are a few administrative things to know before getting an apartment finalized. This part of the property walk through checklist is just as important as the physical inspection itself.
- Confirm all utility bills are cleared, including electricity and gas, so you are not held responsible for a previous occupant’s outstanding balance
- Request the NOC or possession letter confirming the unit is officially being handed over to you
- Review the maintenance fee structure, including what it covers and how often it is billed
- Read through the society rules or association guidelines, covering things like renovation permissions, pet policies, and visitor parking
Only after these documents are reviewed and confirmed should you proceed to accept the keys.
What Happens After the Walkthrough? (Red Flags and Action Plan)
Finishing the walkthrough is not the final step. What you do immediately afterward determines how well protected you are going forward.
- Prepare a written record or inspection report summarizing every issue found, ideally with photos attached next to each item
- Share this apartment condition checklist with your landlord or developer and get written agreement on which repairs will be handled and by when
- Keep a full backup of your photos and videos before you officially receive the keys, since this becomes your evidence if disputes arise later
Treating this like a formal walk through inspection checklist, rather than a casual glance around the unit, is what separates a smooth move in from a stressful one.
Frequently Asked Questions (FAQs)
1. How long does an apartment walkthrough usually take?
Most walkthroughs take between 30 and 60 minutes, depending on the size of the apartment and how many issues come up along the way.
2. What do you need to move into an apartment?
You will generally need your signed agreement or lease, a copy of your identification, your initial deposit or rent payment, and a copy of your move in checklist for reference during the walkthrough.
3. What if I find damages after moving into the apartment?
Document the damage immediately with a timestamped photo and notify your landlord or property management in writing, ideally by email, so there is a clear record of when the issue was reported.
4. Who should be present during the walkthrough?
Ideally, both parties should attend: the buyer or tenant, and the landlord, property manager, or a developer representative who can answer questions and formally acknowledge any issues on the spot.